
Hi,
If you're new to creating 360° photo spheres or partial panoramas, welcome. This tutorial will be brief and mostly consist of instructions for how to use this website.
Sections
- Video Tutorial if you'd like to watch how it works.
- How to create a 360° photo sphere panorama.
- How to share a single image with information hot spots.
- How to share multiple images together with navigation hot spots (a tour).
- Some other useful settings.
Let's get started.
1. Video Tutorial if you'd like to watch how it works.
2. How to create a 360° photo sphere panorama.
I would identify 3 ways to create these unique images.
- The hardest of which is to use a regular digital camera and have a tripod setup to rotate the camera while maintaining the proper center to prevent a parallax effect. To sum this up, it is very difficult to get good results with the software the combines these images, unless you have almost zero parallax effect. For the casual user I wouldn't recommend this approach, but if you are interested, search the internet for "creating a 360 with Hugin". Also you'll need to create a lens calibration file for your camera.
- The method I use most right now, because I'm cheap and have a large family to support is the Camera app on my Google Pixel phone. Sadly, Google has discontinued this feature in their latest Pixel 8 model. If you currently have an older Pixel phone, go to the Camera app and select Photo Sphere. This is really easy, works great outside, and you can complete the shot and upload to this site while out in field if you want. This method doesn't work as well indoors do to the parallax issue mentioned in the camera method.
- Then there is the easiest method these days if you have a little money to spend. You can buy a 360° camera starting as cheap as $125 for a old Samsung or you can spend $300+ for an Insta360 or a Ricoh Theta. I haven't used any of these, so I can't make a recommendation. If money was no option, I'd probably grab one that was closer to the 8k pixel mark than 4k.
3. How to share a single image with information hot spots.
Now to the fun and easy part if you have an image ready to go. If not, you can uploading any image you have to play with.
- Go to 360.4ye.org/inve and sign in with a Google account. Sorry if you don't have a Google account. Later I plan to add other authentication methods, but for now it's Google accounts.
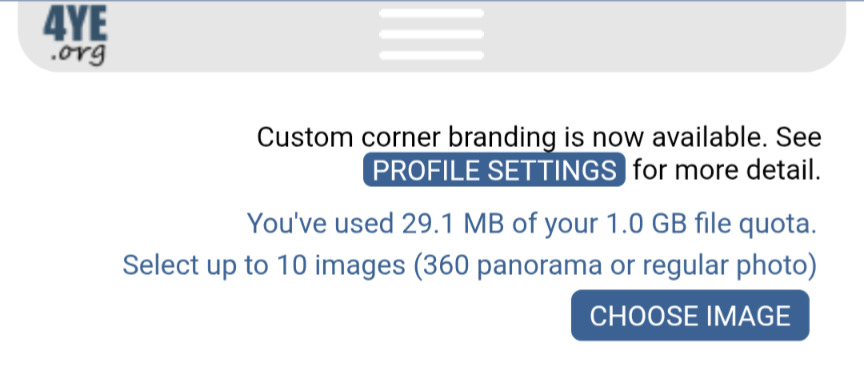
- Once you've logged in you're ready to add your 360° photo sphere panorama image. Select CHOOSE IMAGE and find up to 10 files to upload at once.
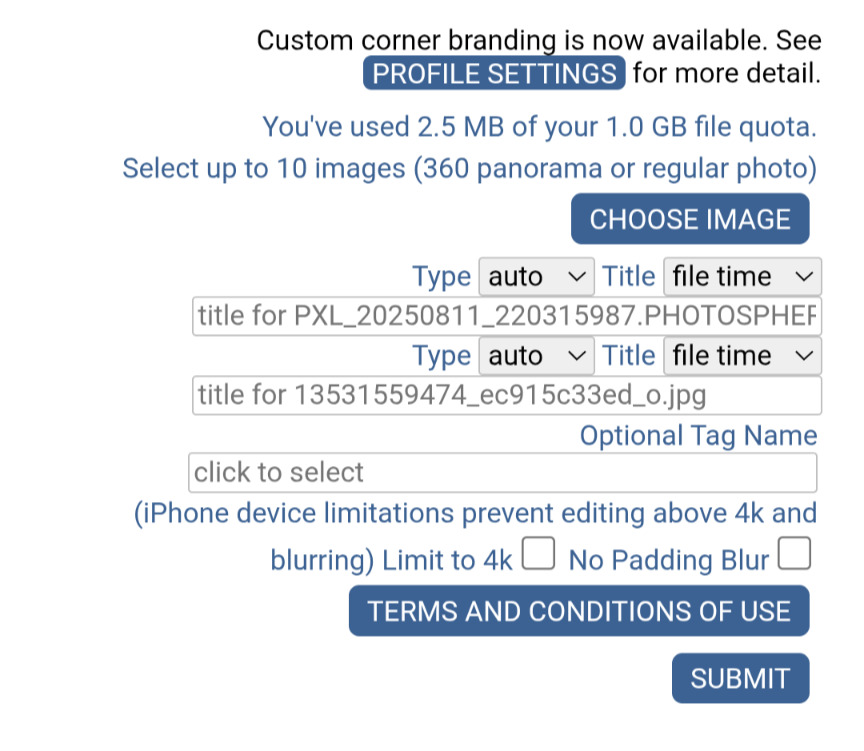
- You can save yourself some time by reviewing and changing the upload options per image. If auto does not detect the right image type on an upload, you can always force it at this time by changing the Type selection. The title by default will be the file time stamp. If you'd like to use the file name or a custom name, you can also change the Title selection. Then there is the Optional Tag Name selection. If you intent is to group images, I'd tag them now to save yourself some time. Once you're finished, go ahead and click SUBMIT to start uploading the images.
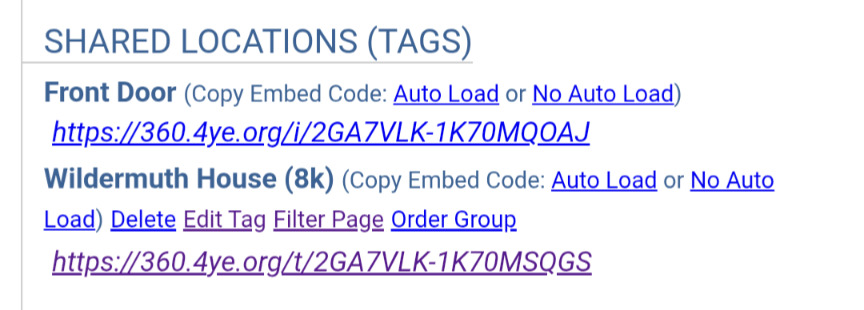
- At this point, if all you wanted is a place to host your image. You're all done. A URL for sharing with others is provided in the SHARED LOCATIONS section. This location will not change while the image is hosted.
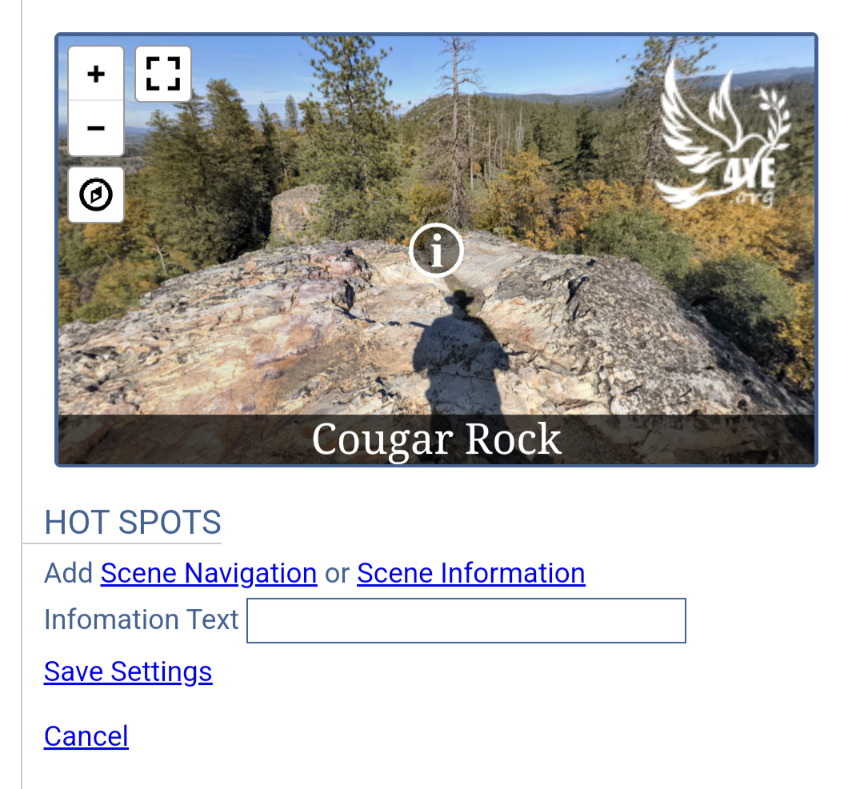
- But lets make some information hot spots before we finish this. To do that, below the panorama viewing box we have the HOT SPOTS section. Click on the link that says Scene Information. A circle with an "i" will show on the panorama viewer. Now you can drag the panorama viewer to center the "i" spot where you'd like to place it. Once you find a nice spot, type some text in the Information Text box, and click Save Settings. Now you have your first hot spot. Add as many as you'd like. There is a Delete link for each hot spot in the HOT SPOTS section if you'd like to remove any. While additions show immediately, deletions won't remove until you reload the viewer.
4. How to share multiple images together with navigation hot spots (a tour).
Now that you've added an image, go ahead and add a second one. Let's link them together like it's a tour.
- First thing to do is to tag your images with a common tag if you didn't at upload, so that we know they are grouped. You can do this by clicking the Add Tag link on one of your images under the CONTROLS section.
Enter a good tag name or select from an existing tag and click Submit.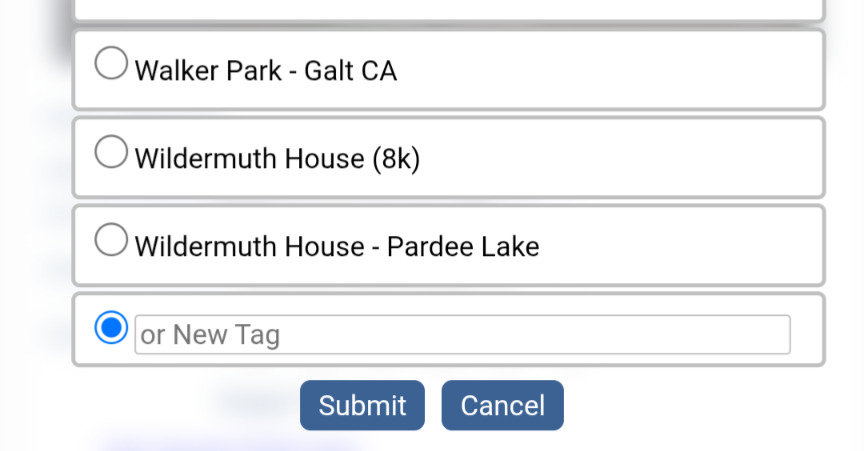
- Now go to a second image and do the same thing, but this time select the tag name you already created and Submit. Now you have a group of 360° photo sphere panoramas that can be viewed together. The tagged images have an additional URL in the SHARED LOCATIONS section that will remain unless you delete the parent tag or delete the tag association listed in SHARED LOCATIONS.
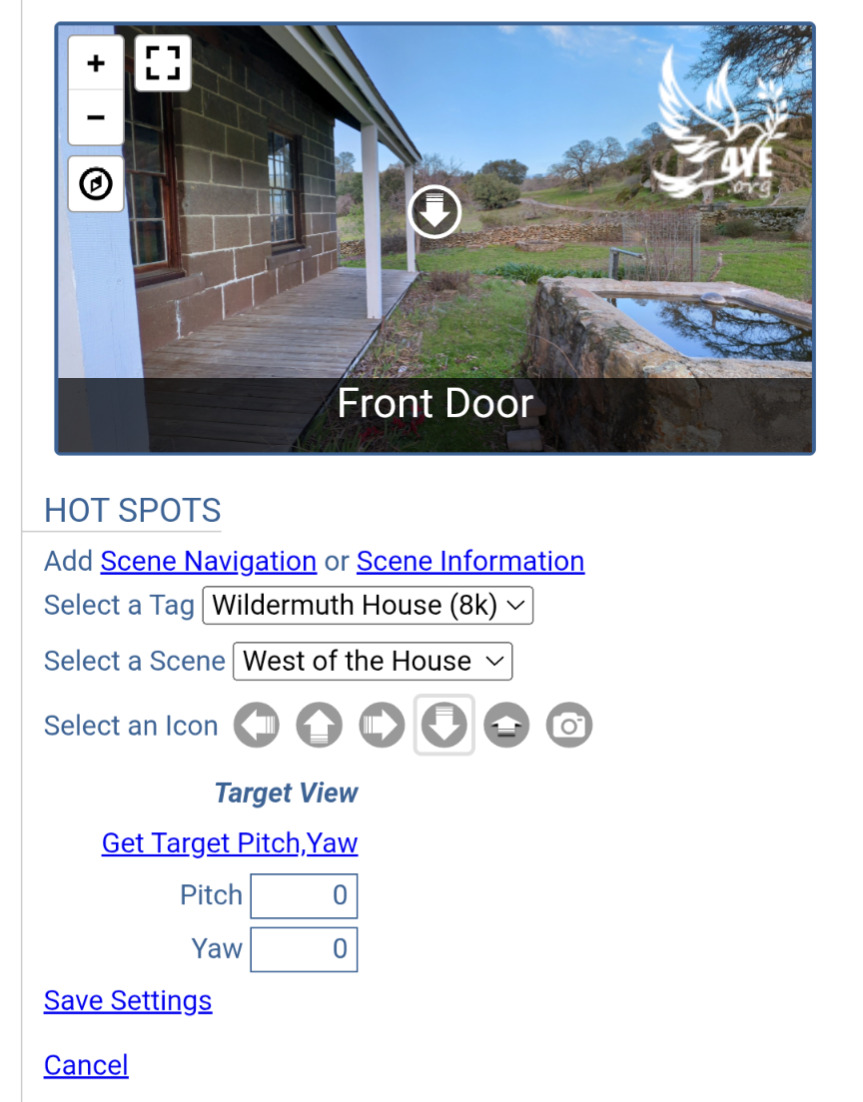
- At this point you can share the tag group URL. If you want to navigate between images with a hot spot you can create those by clicking the Scene Navigation link in the HOTS SPOTS section. Click Select a Tag. Then Select a Scene title you want to navigate to. This is why your images should have a Scene Title at a minimum. Select the icon you'd like to see as the hot spot. Now the final step is to set the position of entry into the target scene. When selecting a scene, the pitch and yaw settings default to that scene's initial view. You can now scroll up or down the page looking for the target scene. When you locate it, move the scene to the view you'd like for entry and go back to your scene navigation settings and click Get Target Pitch,Yaw. Now the pitch and yaw should have numbers that correlate to the other scenes view. To finish, click the Save Settings link.
5. Some other useful settings.
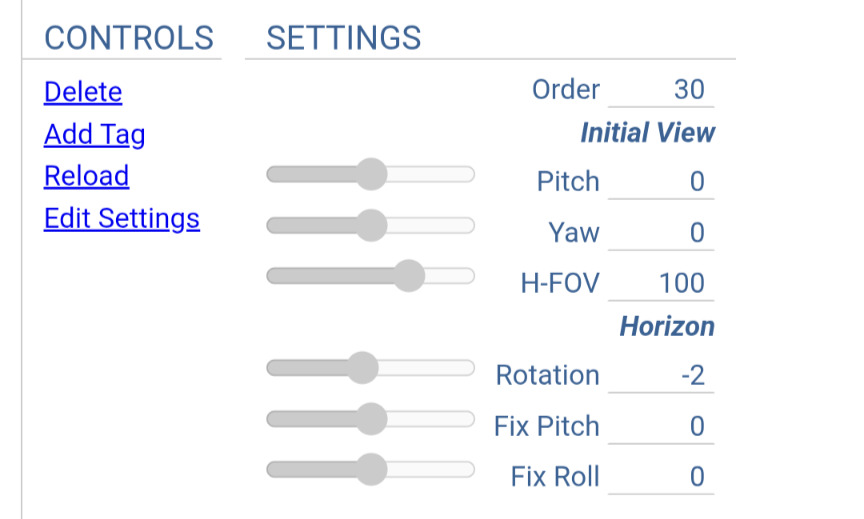
To edit the items listed in settings and the scene title, click Edit Settings. You can now edit the text in the blue boxes or use the slider controls to adjust the settings.
- Order - This number is the display order of the tagged group.
- Pitch - This floating number is the vertical angle of the initial view.
- Yaw - This floating number is the horizontal direction you are facing.
- H-FOV - This floating number is the horizontal field of view in degrees.
- Rotation - This number is the initial rotation speed if any. 0 is no rotation. A negative value turns to the right. A positive value turns to the left.
- Fix Pitch - This floating number is the Pitch adjustment at 90 degrees Yaw to correct an unlevel horizon in degrees.
- Fix Roll - This floating number is the Roll adjustment at 0 degrees Yaw to correct an unlevel horizon in degrees.
The Save Settings link will commit the changes. If you just want to change the Initial View section of SETTINGS to the current view, click the Get Pitch,Yaw,HFOV link next to Initial View and click Save Settings.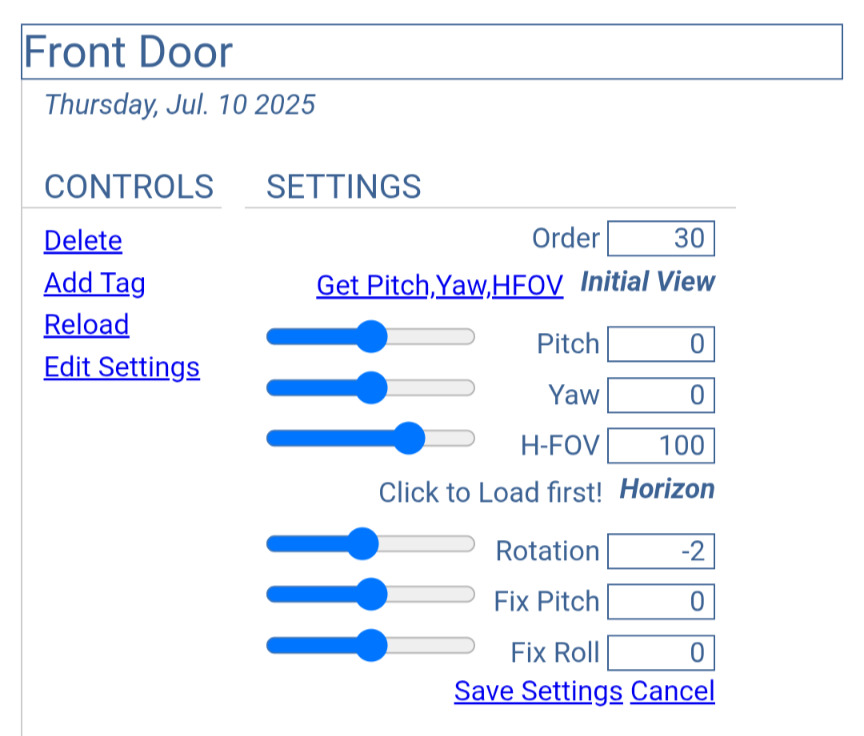
Well, I hope that helps you get started. Also, the primary intent for this website is to share the word of God through a free service. Have fun sharing your creations and sharing God's word.